Isuzu Parts Guides
Isuzu Water Outlet Pipe 8-98120945-0: Identification and Pre-Install Inspection Guide
A practical buyer and workshop guide to identifying Isuzu water outlet pipe 8-98120945-0, comparing it with the removed part, and checking the sealing face, hose connections, and mounting points before installation.
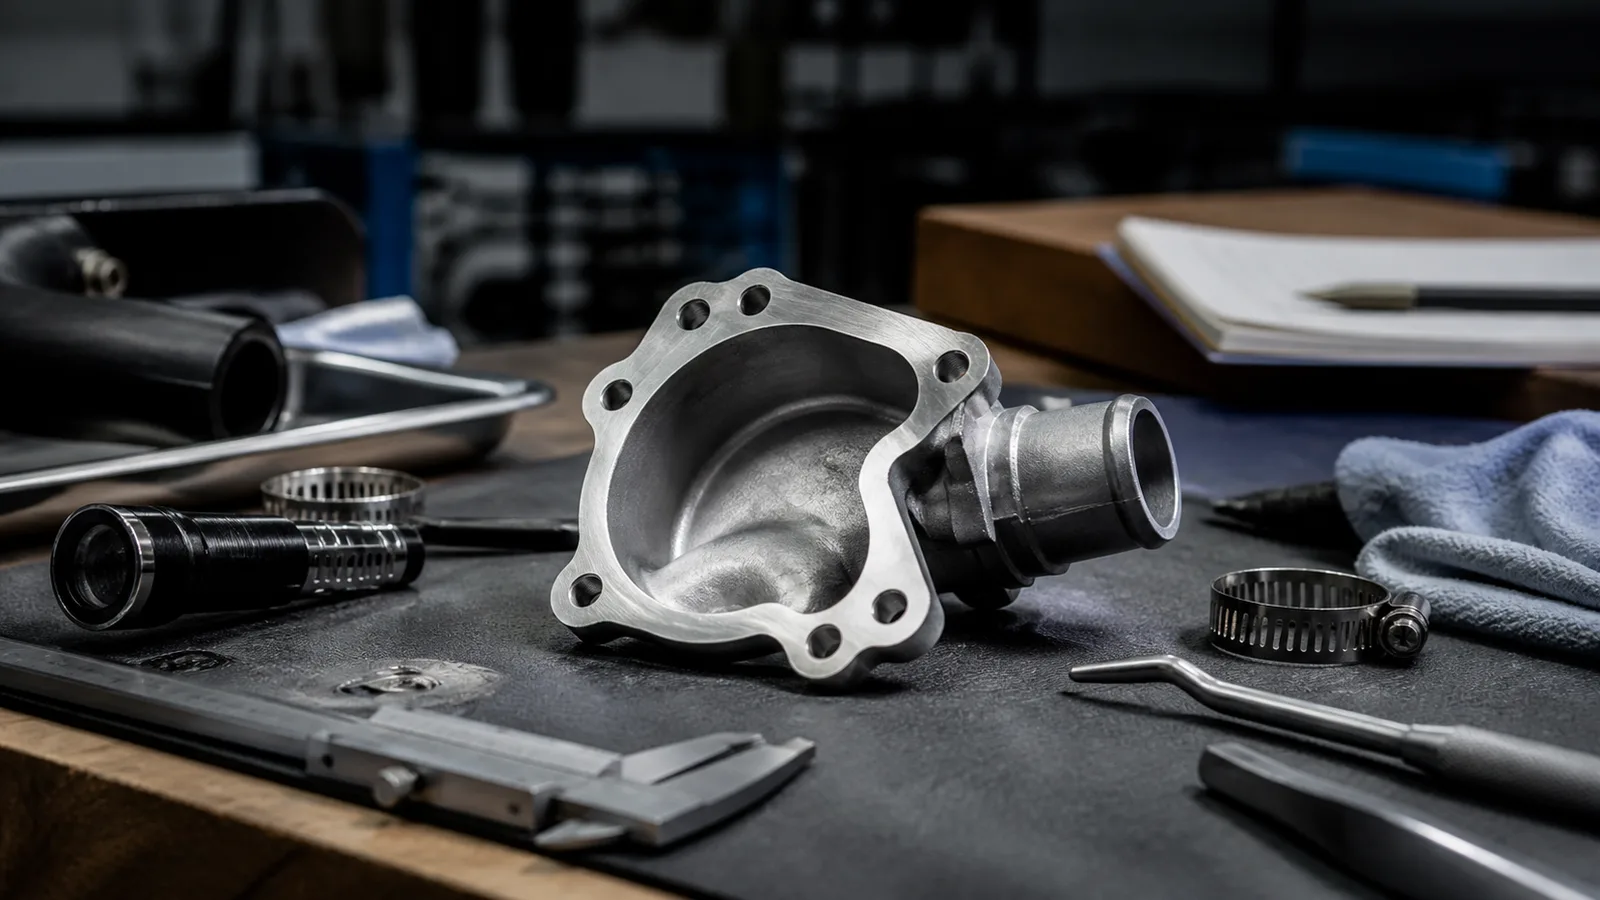
A water outlet pipe can look simple on the parts counter, yet small differences in its casting, mounting points, hose connections, or sealing face can determine whether it belongs in the planned repair. When searching for Isuzu water outlet pipe 8-98120945-0, buyers may also encounter the continuous number 8981209450 or the shorter label reference 98120945. Treat these as useful identification clues, not as a substitute for checking the vehicle and the removed component. This guide gives parts buyers, technicians, and workshop coordinators a practical way to review the component before installation. It is intended for the Genuine Isuzu D-Max Water Outlet Pipe / Thermostat Housing Cover 4JK1 4JJ1 - 8-98120945-0 . The listing describes the part for Isuzu D-Max applications associated with 4JK1 and 4JJ1 engines, but engine-family wording alone is not enough to confirm fitment. Start with the reference number Record every number visible on the supplied label, old part, invoice, and workshop estimate. The key reference here is 8-98120945-0. Search systems may remove punctuation and display it as 8981209450, while a label or internal reference may show 98120945. Keeping all three formats in the job notes reduces confusion when staff speak to a supplier or search a catalogue. Do not approve the part only because one number appears familiar. Verify it against the OEM or trusted catalogue reference for the exact vehicle. Use the VIN where a catalogue or dealer system supports VIN lookup. If the old housing carries a readable casting or label number, photograph it before cleaning and compare it with the supplied component. A supersession or production change should be confirmed through reliable parts information rather than inferred from appearance. Build a useful workshop comparison Place the new and removed parts side by side on a clean bench, oriented in the same direction. Avoid transferring dirt, old sealant, or coolant residue to the new sealing surface. Take overview photographs and close views of the mounting points, hose necks, sensor or plug locations, and the mating face. These images create a clear handoff if the person ordering the part is different from the person installing it. Compare the overall casting shape, but concentrate on functional geometry. Count the mounting holes and inspect their spacing. Check the direction, diameter, and length of every hose connection. Note any branch outlet, threaded opening, locating feature, or bracket position. Confirm that electrical connectors, sensors, plugs, and related attachments on the vehicle have corresponding provisions. Similar-looking housings may differ in one connection or mounting detail that is difficult to notice in a single product photograph. Inspect the part before installation Under good light, inspect the sealing face for dents, raised burrs, corrosion, embedded debris, or shipping damage. It should be clean and protected until the installer is ready. Look through accessible passages for foreign material without scraping or modifying the component. Examine hose necks for impact marks and check that mounting ears have not been bent or cracked. Inspect threads visually and do not force a sensor or plug into a port as a test. Confirm what is actually included in the package. A listing for a housing or outlet pipe does not automatically mean that a gasket, O-ring, thermostat, sensor, plug, clamp, or fastener is supplied. Compare the delivered contents with the order and plan any separate service items before the vehicle occupies a work bay. Reusing seals or hardware should follow the vehicle manufacturer's repair information, not a general assumption. Check the surrounding cooling-system area Before removing components, identify the source of the leak or fault as accurately as practical. Coolant can travel along castings and hoses, making the wettest point different from the original source. Inspect nearby hoses, clamps, mating surfaces, sensors, and adjacent housings. A replacement outlet will not correct a damaged hose, a poor mating surface, or a leak originating elsewhere. Document coolant condition and any signs of contamination for the technician. Cooling-system service involves hot fluid and pressure, so the engine must be allowed to cool and the workshop should follow the manufacturer's safety and repair procedures. The correct coolant specification, filling method, bleeding process, fastener sequence, and torque values should come from current service information for the exact vehicle. Use a five-point fitment check OEM or reference number: Match 8-98120945-0, 8981209450, or 98120945 through a reliable catalogue and understand any documented replacement number. VIN and vehicle data: Check the full VIN plus model, production date, engine details, and market specification where relevant. Old part: Compare numbers, casting form, port count, hose-neck direction, sealing face, and mounting-hole pattern. Connections: Verify every hose, sensor, plug, bracket, and connector position before installation. Mounting: Confirm bolt locations, locating features, clearances, and the correct seal specified by service information. If any point conflicts, pause the job and resolve it before applying sealant, fitting a gasket, or marking the part. An uninstalled component with intact packaging and clear photos is easier to review with a supplier than one that has been altered or fitted. Prepare a clean job handoff A useful handoff note can be brief: vehicle VIN, registration or fleet number, engine identification, customer complaint, observed leak location, old-part number, ordered reference, and required related items. Attach the comparison photographs and state who completed the catalogue check. This gives the installer a traceable starting point and helps the parts team answer questions without relying on memory. Keep the product label and packaging with the job until the repair has passed the workshop's inspection process. After installation, follow approved refill and bleeding steps, inspect for leaks under the conditions specified by the manufacturer, and recheck the repair as required. The main purchasing lesson is straightforward: identify by reference number, then verify by VIN, old part, connector and hose arrangement, and mounting geometry. That disciplined check is more reliable than choosing from model name or engine family alone.