Isuzu
Isuzu Lower Water Outlet Housing 8-97916700-0: Receiving and Photo Checklist
A practical receiving and workshop photo checklist for comparing Isuzu lower water outlet housing 8-97916700-0 with the removed part before installation.
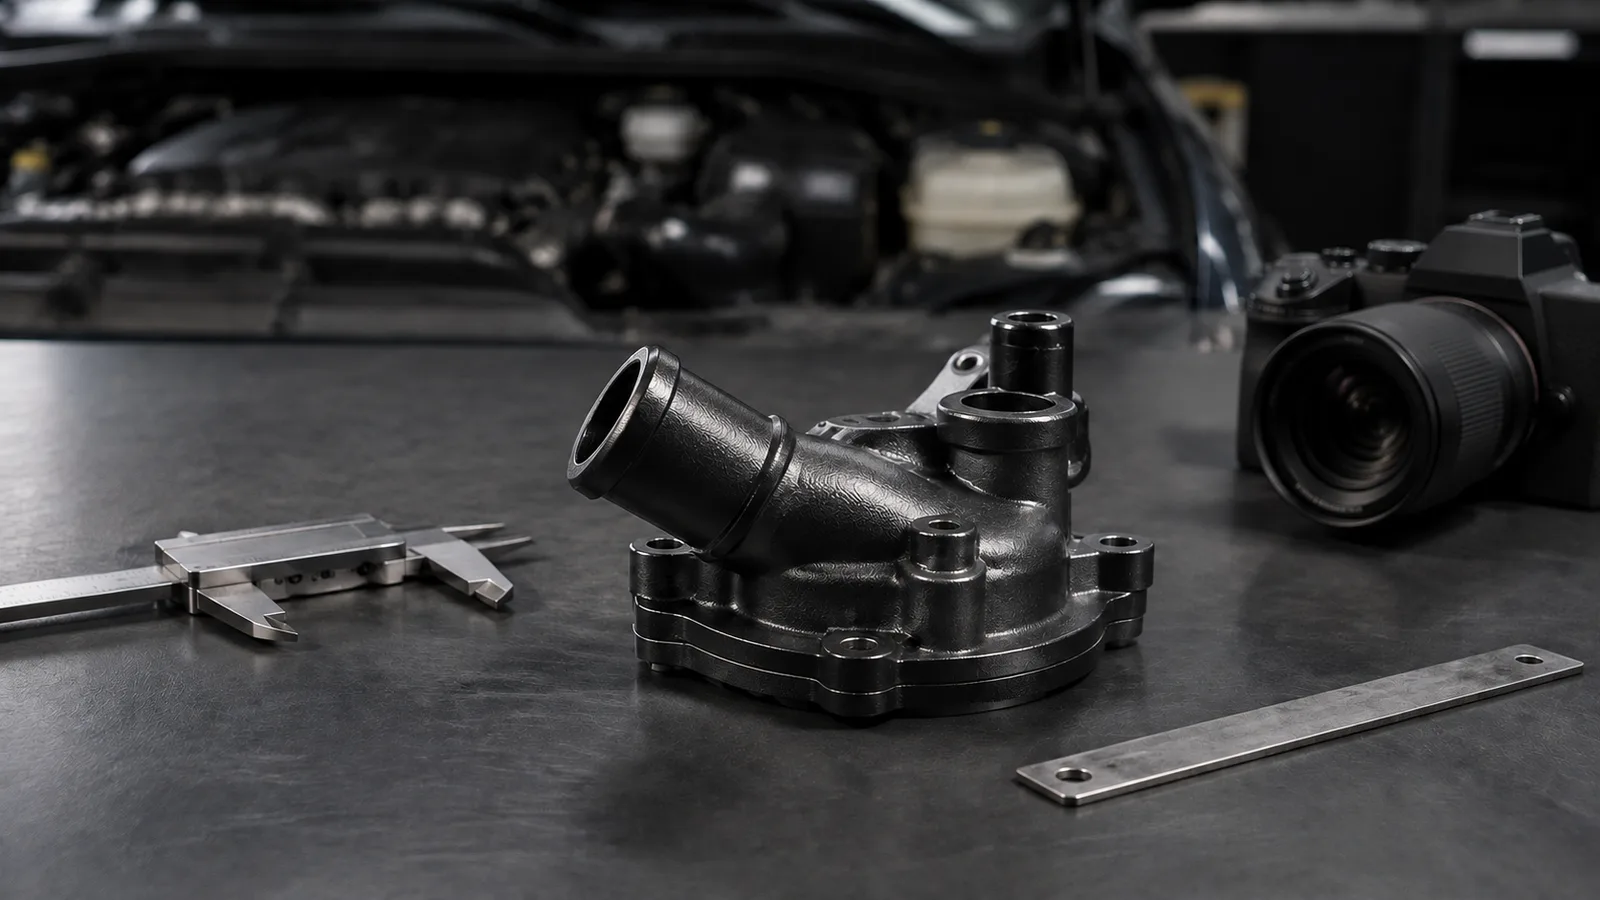
A cooling-system housing can look simple on a product page, yet small differences in ports, mounting points, sealing faces, and hose connections can make a major difference at the workshop. For buyers considering an Isuzu lower water outlet housing listed under part number 8-97916700-0, the safest approach is to treat the number and vehicle wording as useful leads, then compare the actual components carefully. This guide focuses on what to photograph before ordering, what to inspect when the parcel arrives, and how to give a technician a clean record before installation begins. Start with the part number, but do not stop there The listing name references Isuzu D-Max and TFR applications, 4JA1 engines, 2.5 and 2.8 variants, and model years 1997–2002. Those details are helpful for narrowing a search, but vehicle registration year, engine descriptions, prior repairs, and regional specifications do not always tell the complete story. A buyer should confirm the exact application with a qualified parts specialist or workshop and compare the removed component wherever possible. The product description also points buyers toward OEM number 8-97916700-0, so record every number visible on the old housing, nearby assembly, parts diagram, or reliable service documentation. Write the number exactly, including its zeros and separators. A typed note can lose a digit, so keep a clear photograph of the original marking as well. If a workshop is doing the removal, ask it to include the vehicle identification details it normally uses for parts lookup. Do not infer compatibility solely because the product photograph appears similar from one angle. Build a useful photo set before ordering A good comparison set is more valuable than a single top-down snapshot. Clean only enough dirt to reveal the shape and markings without damaging the old component. Photograph the removed housing on a plain background with even lighting, and place a ruler beside it for scale rather than relying on perspective. Keep the ruler separate from sealing faces so it cannot scratch them. Overall views: capture the front, rear, top, bottom, and both sides. Keep the camera square to the part to reduce distortion. Mounting pattern: photograph every bolt hole together, then make close views of unusual tabs, offsets, or recesses. Connections: record each hose neck, threaded opening, sensor location, bypass passage, and blanked port that is present. Sealing area: show the mating face, groove, shoulder, and any separate seal or gasket removed with the housing. Markings: capture cast numbers, stamped codes, labels on adjacent parts, and orientation marks. Add one photograph showing where the housing sits before removal if access and workshop safety allow. That context can help the technician remember hose direction and component orientation. Never reach into a hot or pressurized cooling system for a picture; documentation should follow the workshop's normal safe procedure. Compare geometry, not just appearance When reviewing the Isuzu lower water outlet housing product page , compare recognizable physical features against the photo set. Count the mounting holes and connections. Check their relative positions, not merely their total number. Look at the angle and length of each outlet, the direction of threaded ports, the location of ribs, and the outline of the mating surface. A small difference in outlet angle may affect hose routing, while a shifted port may conflict with another component. Ask the workshop to note dimensions that photographs cannot establish reliably. Useful measurements can include the center-to-center spacing of mounting holes, outside diameter of hose necks, thread specification where known, overall height, and depth of any sealing recess. Measurements should be taken with appropriate tools by someone who understands which surfaces are functional. Avoid treating a rough ruler estimate as a fitment guarantee. Receiving inspection before workshop use Open the parcel in a clean, well-lit area and retain the packaging until the comparison is complete. First confirm that the received item and paperwork refer to the ordered product. Then inspect for obvious transit damage, such as cracks, heavy impacts, bent features, damaged threads, or deep marks on a sealing surface. Do not install, grind, drill, paint, or force-fit the part while a discrepancy is being investigated. Repeat the same six-view photo routine used for the removed housing. Photograph the shipping box if it is damaged, the internal protection, the whole received item, its part markings, and any area of concern. Place old and new components beside each other in the same orientation, but keep dirty coolant residue away from the new item. Side-by-side images should show the mounting face, outlet direction, port arrangement, and overall height. This creates a concise record for the seller or technician without requiring them to guess which feature the buyer means. Prepare a short workshop handoff note Give the technician the order reference, listed part number, vehicle details used for lookup, and the comparison photos. Include open questions rather than assumptions: Are all ports equivalent? Does the mounting pattern align without force? Is the required seal included, separate, or intended to be sourced according to the repair procedure? Are any sensors or fittings transferred from the removed unit? The answer should come from inspection and suitable technical information, not from the shape alone. The technician should also determine the correct installation procedure, fastener condition, sealing materials, torque specifications, coolant handling, and system bleeding method for the particular vehicle. This buyer's checklist does not replace service data or professional diagnosis. A housing may be ordered during investigation of a cooling complaint, but replacing it should not be presented as a guaranteed cure for overheating, leakage, or another symptom. A simple decision gate Proceed only when the identification record, physical comparison, and workshop assessment agree. Pause if a port is missing, an outlet points differently, threads do not match, a sealing face is damaged, or the technician cannot reconcile the part with the vehicle. Keeping the component unmodified and preserving clear photographs makes questions easier to resolve. The goal is not speed at any cost; it is an orderly handoff that helps the buyer, seller, and workshop discuss the same details before installation.