Ford Parts Guide
Ford Ranger Raptor T8 2.0 Throttle Body: Bench Comparison and Workshop Intake Guide
A practical guide to recording vehicle details, comparing a removed throttle body with F2GE-9F991-AC, and preparing a clear workshop handoff before installation.
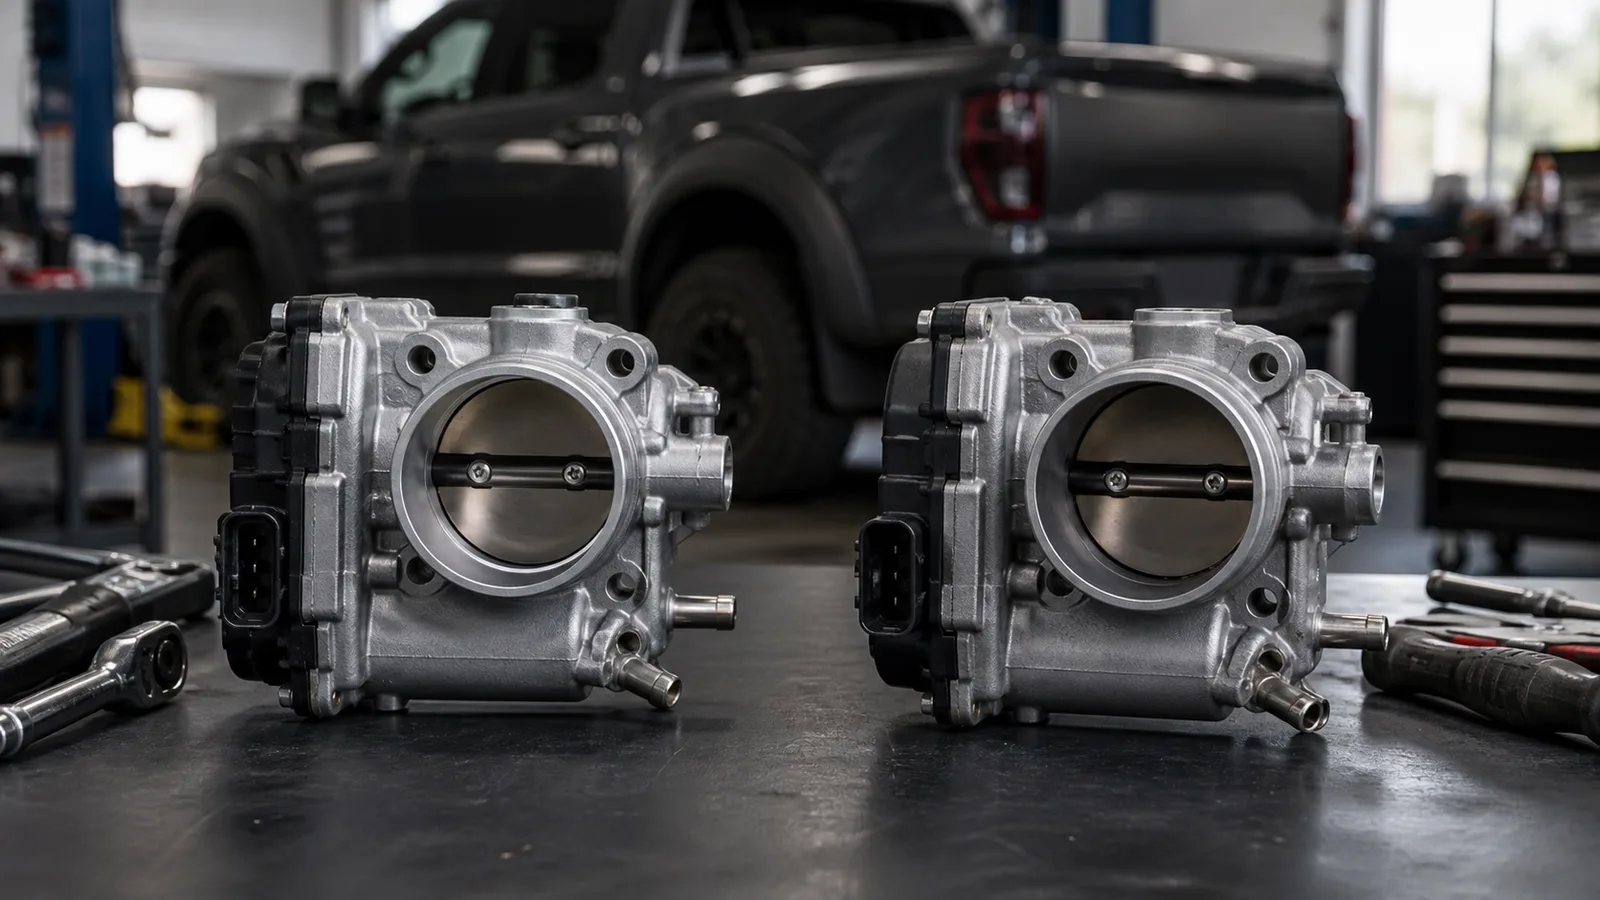
Start with identification, not assumptions A throttle body can look broadly similar to another unit while differing in its connector, mounting pattern, bore, actuator housing, or calibration-related details. This guide focuses on the Ford Ranger Raptor T8 2.0 throttle body assembly listed under reference F2GE-9F991-AC for 2018-2022 applications. Treat those details as a starting point rather than proof of fit. Vehicle production changes, prior repairs, and market specifications can affect the part fitted to an individual vehicle. Before ordering, open the Ford Ranger Raptor T8 2.0 throttle body product page and compare the listing images and reference information with the component removed from the vehicle. If the original unit is still installed, ask the workshop to photograph it clearly before disassembly. Build a useful vehicle record Give the seller or technician more than a model name. Record the VIN, model year, engine description, transmission type, market specification, and any readable number on the existing throttle body. A registration year alone may not match the production date, so the VIN and the number on the fitted part provide stronger comparison points. Photograph the full label or stamped number without glare. Capture the electrical connector face and its locking tab. Photograph the mounting flange straight on. Record the number and position of mounting holes. Note attached hoses, brackets, clips, and wiring routes. Keep a wider engine-bay photo to show orientation. The candidate product is described for Ranger Raptor T8 2.0 applications and displays F2GE-9F991-AC. Confirm that number, the connector, and the physical arrangement against the vehicle. Do not rely on a shared engine size or a visually similar housing by itself. Use a bench comparison before fitting When the replacement and removed units are both available, place them beside each other on a clean bench in the same orientation. Compare the connector keying, actuator cover, flange outline, bore opening, hose ports, bracket locations, and fastener spacing. Check whether any seals or separate fittings shown on the old unit are included with the replacement; the product title describes a throttle body assembly, but the listing should be reviewed to establish exactly what is supplied. Do not force a connector, enlarge a hole, transfer an electrical housing, or modify the flange to make a mismatch appear usable. Pause the job if a casting feature, port, connector key, or reference number differs. Photograph the difference and resolve it with the seller or a qualified technician while the new part remains clean and unaltered. Plan a clean workshop handoff A throttle body sits in the air path, so careful handling matters. Keep caps or protective packaging in place until the comparison is complete. Store the component away from dust, metal filings, loose liquids, and impact. A workshop should follow the applicable service information for removal, installation, fastener tightening, electrical checks, and any learning or initialization procedure required by the vehicle. Before work starts, ask the technician to inspect the surrounding intake duct, clamps, connector, harness, and sealing surfaces. This is not a diagnosis: poor running or warning lights can have multiple causes, and replacing a throttle body without suitable testing may not address the underlying issue. Diagnostic trouble codes, live data, wiring condition, and air-path inspection should be considered by a competent workshop. Keep a simple installation record Retain the order details, packaging label, pre-installation photos, and the old part until the vehicle has been checked after the work. Note the odometer reading, installation date, diagnostic findings, and any procedure performed by the workshop. After installation, the technician should check for secure connections, correct duct seating, leaks, warning indicators, and expected operation using the appropriate service process. The most reliable buying workflow is straightforward: identify the vehicle, document the fitted unit, compare reference F2GE-9F991-AC and all visible interfaces, confirm package contents, and hand the job to a workshop with the evidence attached. That small amount of preparation can make questions easier to resolve and reduces the temptation to treat a similar-looking part as a confirmed match.