Ford
Ford Ranger Raptor JB3Q-6A228-AA Belt Tensioner Assembly Service-Bay Documentation Guide
A practical guide to documenting the existing belt drive, comparing reference numbers, and preparing a clear workshop handoff for a Ford Ranger Raptor 2.0 diesel belt tensioner assembly.
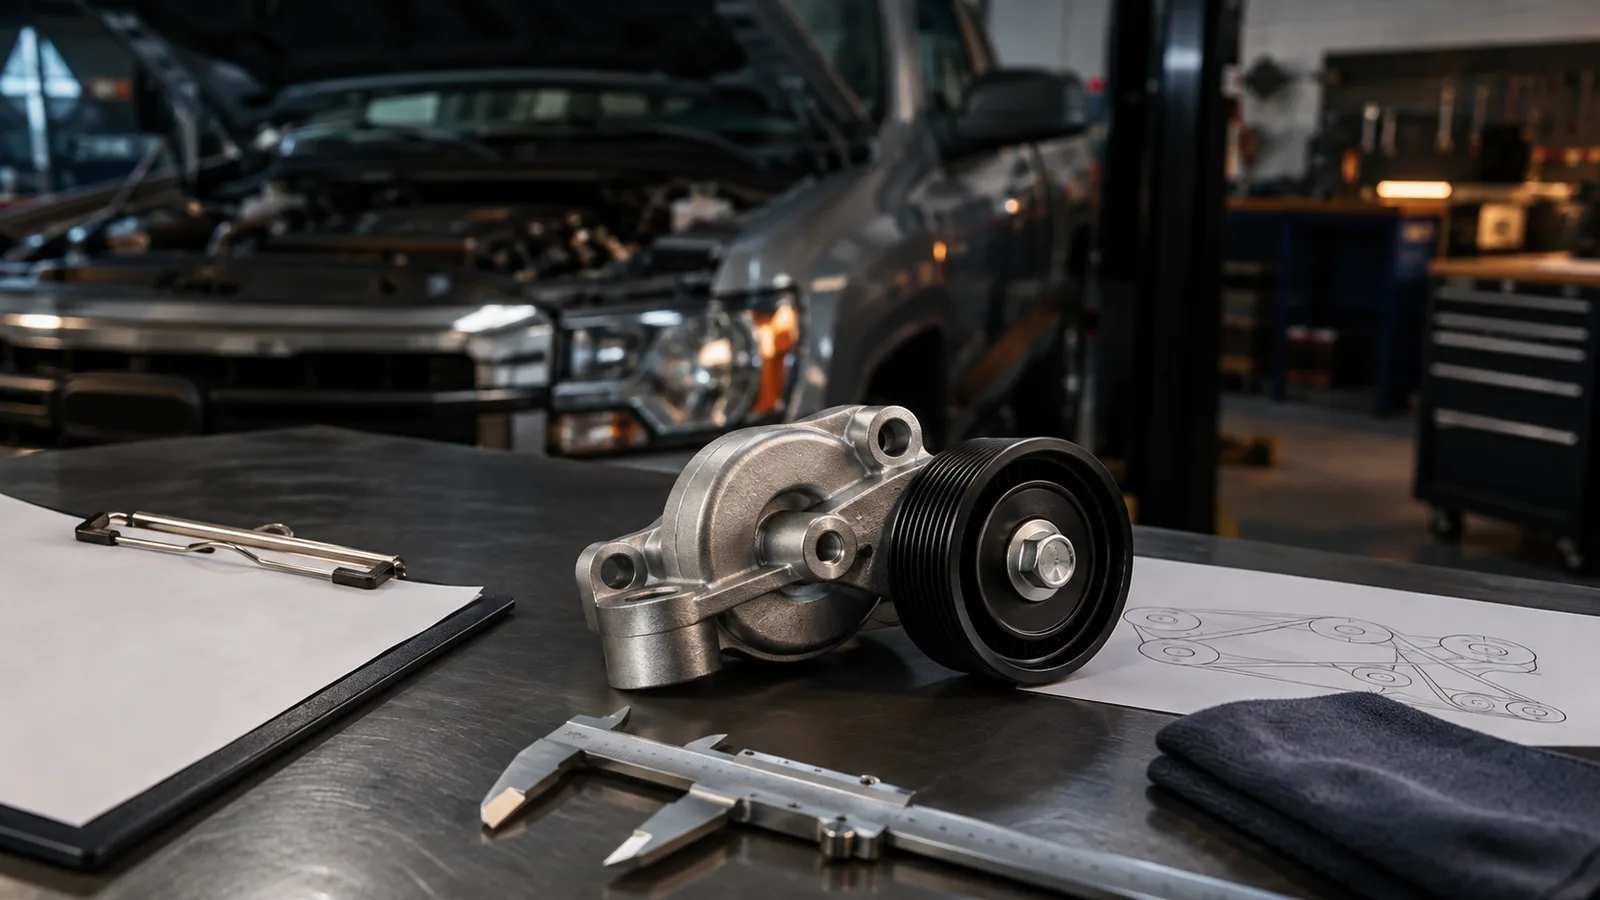
Start with the vehicle and part reference A belt tensioner job is easier to plan when the parts counter, vehicle owner, and workshop are all working from the same information. The Ford Ranger Raptor 2.0 Diesel Belt Tensioner Pulley Assembly JB3Q-6A228-AA 2018-2022 is described for the 2.0 diesel four-cylinder application, with reference number JB3Q-6A228-AA, also written without separators as JB3Q6A228AA. Model name and year range are useful starting points, but they should not be treated as the only fitment test. Before ordering or opening a repair slot, record the vehicle details and compare the reference number with the part being removed, the vehicle parts record, or another reliable fitment source. Build a simple service-bay record Good documentation prevents a visual memory from becoming the only guide during reassembly. With the engine off and the work area safely accessible, take one wide photograph showing the belt-drive layout. Then capture closer images of the tensioner body, pulley position, nearby brackets, belt routing, electrical connectors, hoses, and any areas where access appears limited. A handwritten routing sketch can remain useful even when photographs are available, especially if some belt runs are hidden from the camera. Record the model, production details, engine information, and vehicle identification data used for the fitment check. Photograph the installed assembly from more than one angle before disturbing the belt. Write down every visible number or marking on the existing tensioner and related labels. Note the belt path, ribbed and smooth contact surfaces, and the position of adjacent pulleys. List any covers, ducts, guards, or brackets that may affect workshop access. Compare the replacement before installation Place the removed and replacement assemblies on a clean bench without assuming that similar appearance confirms interchangeability. Compare the mounting points, casting profile, pulley width, pulley surface, offsets, and the orientation of the tensioning mechanism. Check that the reference information on the box or part matches the order record. Small differences can matter when a belt must track across several pulleys, so any unexplained variation should be resolved before installation continues. The product page at tap-autoparts.com provides the product name, application summary, and reference number in one place. Share that link with the workshop together with the vehicle record and photographs. This creates a clearer handoff than sending a cropped product image or a vehicle nickname alone. Keep diagnosis separate from identification A part-identification guide cannot determine why a belt-drive concern exists. Noise, unusual belt movement, tracking marks, or visible wear may involve the tensioner, belt, another pulley, alignment, contamination, or more than one condition. The workshop should inspect the system and decide what needs replacement. Avoid describing the selected assembly as a guaranteed cure before the underlying concern has been assessed. If the belt will be reused, the technician can decide whether its condition and service history allow that. If other components are being considered, list them separately on the job record so that ordering decisions remain clear. This also helps distinguish a confirmed replacement item from an item included only for inspection. Prepare a concise workshop handoff A useful handoff can fit on one page. Put the vehicle identifiers at the top, followed by the reference number JB3Q-6A228-AA, the product link, the reported concern in the owner’s own words, and the names of attached photographs. Add a line stating that final fitment and installation are to be confirmed by the workshop. Do not preselect procedures, tightening values, or belt-routing details from an unrelated vehicle. The technician should use service information applicable to the exact vehicle. Vehicle and engine details checked against the order record Existing part markings photographed and transcribed Belt routing documented before removal Replacement geometry compared on a clean bench Unexplained differences paused for verification Final installation method left to the qualified workshop and applicable service information Finish with a post-work record After the workshop completes the job, retain the invoice, part reference, date, and a brief note of any related components inspected or replaced. A final photograph of the assembled belt drive can support future service discussions. The goal is not to replace technical diagnosis; it is to preserve the exact information needed for an orderly parts and workshop conversation. For this Ford Ranger Raptor application, careful reference-number checking and clear documentation provide a sensible path from product selection to service-bay handoff.