Ford Parts Guide
Ford Ranger Raptor 2.0 Fuel Rail Pressure Sensor: Pre-Order and Workshop Check Guide
A practical guide for checking Ford Ranger Raptor 2.0 fuel rail pressure sensor 8C3Q-9D280-AB before ordering, installation, and workshop handoff.
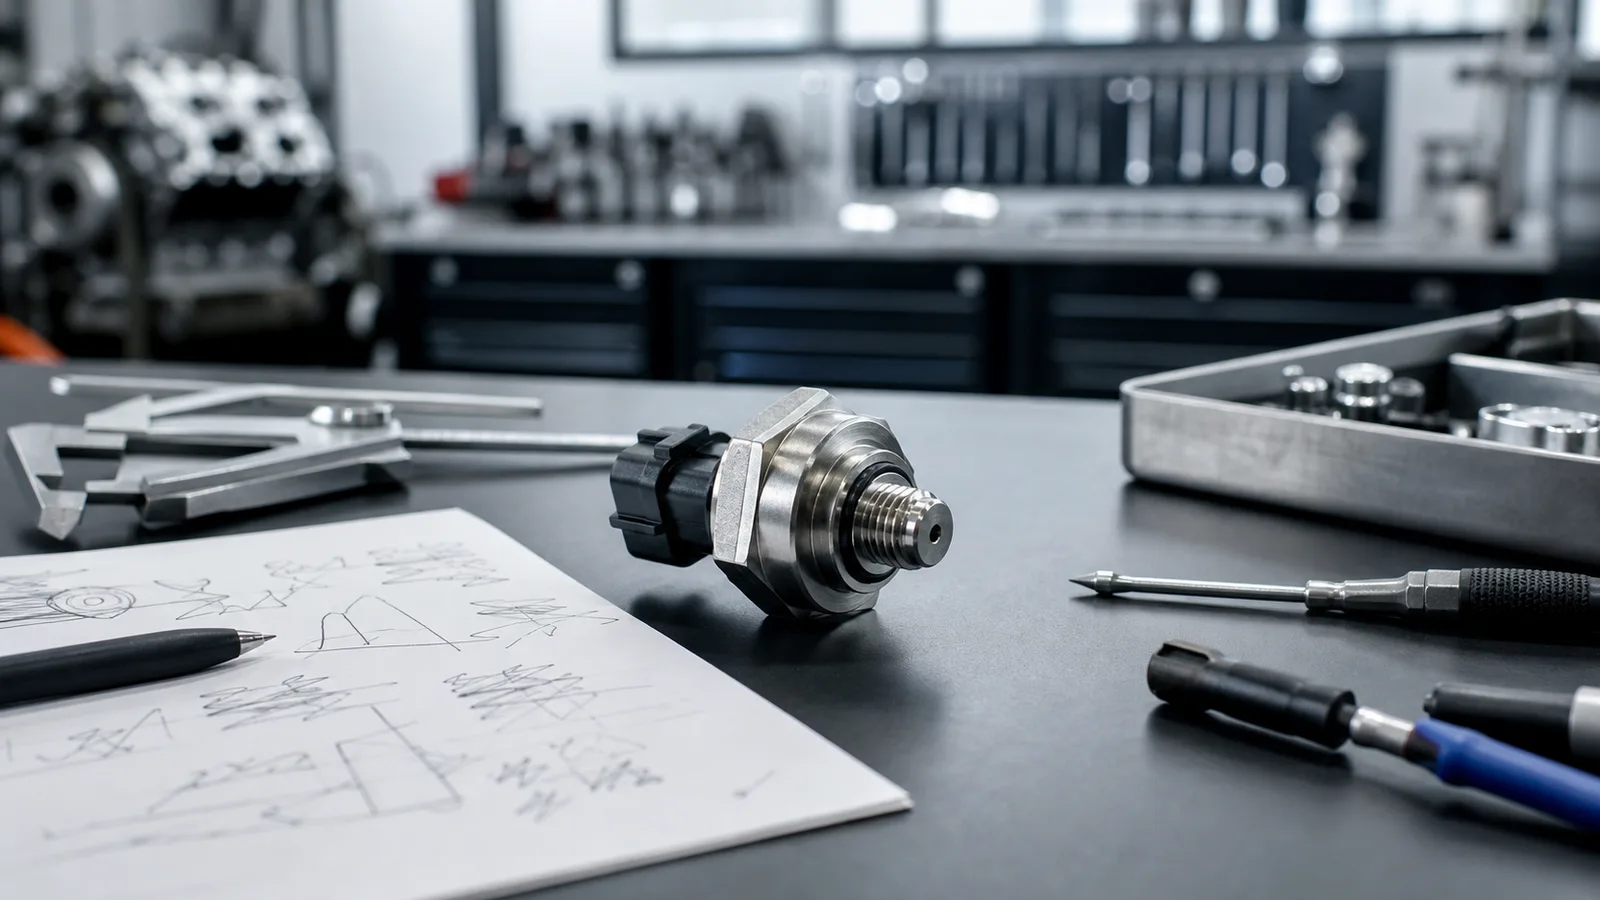
A fuel rail pressure sensor is a small part, but it sits in a critical diagnostic chain. It helps the engine management system monitor pressure in the common-rail fuel system, so a wrong part, damaged connector, or poor handoff can waste workshop time. When ordering a sensor for a Ford Ranger Raptor 2.0 diesel, the part number and the physical details should be checked before the job is scheduled. This guide is written for buyers and technicians reviewing the Genuine Ford Ranger Raptor 2.0 Fuel Rail Pressure Sensor 8C3Q-9D280-AB 2018-2022 . Use it as a pre-order and pre-installation checklist. It does not replace VIN-based catalogue confirmation, diagnostic testing, or the service information for the exact vehicle. Confirm the reference before comparing parts Start by recording the reference number exactly as supplied: 8C3Q-9D280-AB. Some systems may remove punctuation, shorten the text, or group the number differently. Keep the full number in the order notes, workshop estimate, and customer communication so every person is checking the same component. If the old sensor still has a readable label or stamping, photograph it before removal or cleaning. Part-number similarity is not a fitment guarantee. Check the vehicle by VIN or a trusted parts catalogue whenever possible. Confirm the model, engine, production range, connector style, thread or mounting interface, and any supersession note before approving the order. If a catalogue shows a replacement or alternative reference, record where that information came from rather than relying on memory. Inspect the connector and body shape The electrical connector is one of the most useful comparison points. Look at the plug shape, locking tab, pin count, keyways, and the angle of the connector body. A sensor can appear similar in photos but still fail to connect securely if the keying or locking detail is different. Before installation, compare the new sensor with the removed one side by side under good light. Also review the sensor body, mounting face, and sealing area. Do not install a sensor with impact marks, damaged threads, contamination, or signs that the protective cap has been removed too early. Fuel-system components should be handled carefully and kept clean until the workshop is ready to fit them. Packaging should be retained until the part is accepted and the repair is complete. Use diagnostics to support the parts decision A pressure-related fault code does not automatically prove that the sensor is the root cause. Wiring, connectors, fuel supply, rail pressure control, contamination, and other system issues can produce similar symptoms. Before ordering, the workshop should document the diagnostic path, current fault codes, freeze-frame data where available, and the reason the sensor has been selected. If the job is being handled remotely, ask the technician for clear photos of the old sensor, connector, surrounding rail area, and any visible part number. These photos help the parts supplier compare the requested item with the listing before the package is shipped. They also reduce confusion if the vehicle has been modified or if a previous repair used a non-original component. Plan a clean installation handoff When the sensor arrives, check the package, reference number, and visible condition before opening the final protective packaging. Do not touch sealing surfaces unnecessarily. Keep dust, oil, and shop debris away from the sensor. Follow the vehicle service information for removal, installation torque, sealing requirements, priming, leak checks, and post-installation diagnostics. The handoff should include the confirmed part number, VIN or catalogue reference used, old-part photos, diagnostic notes, and any customer instructions. After installation, the workshop should verify that the connector locks positively, clear and recheck relevant fault codes as appropriate, and inspect for leaks according to the service procedure. A careful pre-order review cannot guarantee a repair outcome, but it can prevent avoidable ordering mistakes. For best results, treat this part as one item in a full diagnostic workflow. Match the number, compare the connector, protect the component from contamination, and confirm the repair steps with the technician before the vehicle is returned to service.